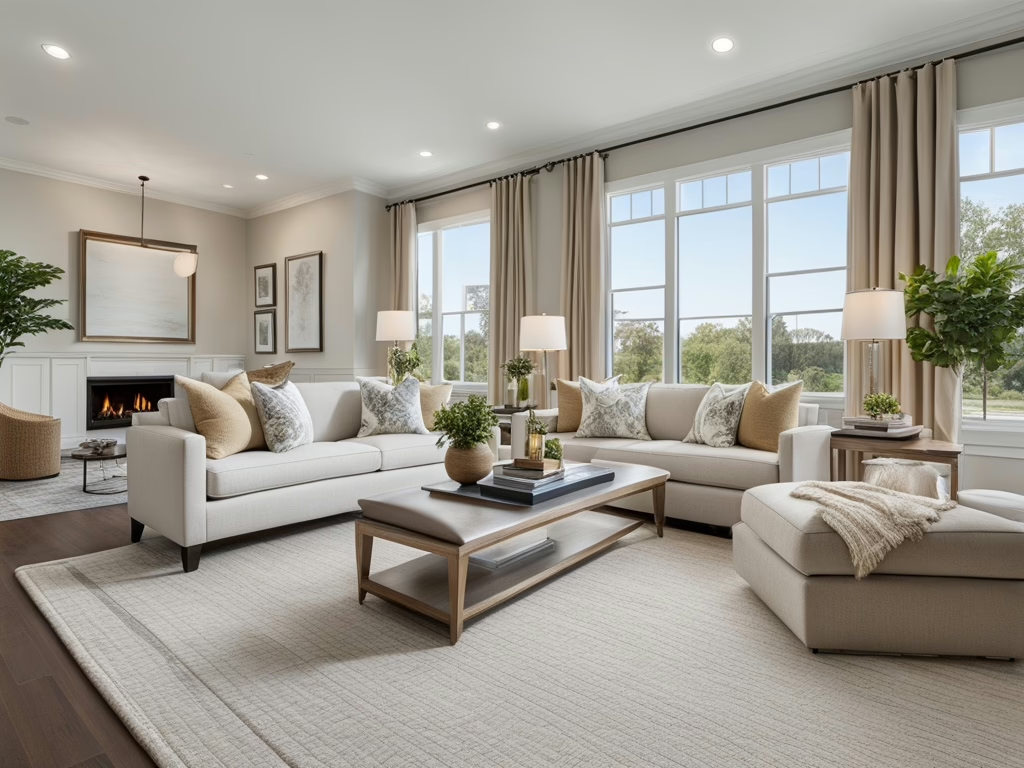
Declutter and Depersonalize
| Before taking listing photos, remove personal items, excessive décor, and clutter. A clean, streamlined look allows buyers to focus on the space rather than distractions. Pro Tip: Less is more! Keep surfaces clean and minimal to create an open, airy feel. |
2. Maximize Natural Light
| Lighting can make or break a listing photo. Open all curtains and blinds to allow natural light to flood the space. If needed, use soft white bulbs in lamps and overhead lights to maintain brightnessPro Tip: Shoot photos during the daytime when the sun is at its peak to enhance warmth and depth in your images. |
3. Use Strategic Furniture Placement
| Arrange furniture to maximize flow and function. Ensure that key architectural elements, such as fireplaces or built-ins, remain visible and unobstructed. Proper furniture placement can make rooms appear larger and more inviting. Pro Tip: Floating furniture away from the walls can create a more intentional and visually appealing layout. |
4. Focus on Curb Appeal
| The first listing photo buyers see is often the exterior. Ensure the lawn is trimmed, the porch is clean, and any clutter (such as garbage bins or hoses) is hidden. Pro Tip: A pop of color, like a vibrant front door or fresh flowers, can enhance the home’s exterior appeal. |
5. Highlight Key Selling Points
Every home has standout features—whether it’s a chef’s kitchen, spa-like bathroom, or spacious backyard. Make sure these are captured prominently in your listing photos.
Pro Tip: Take multiple angles of the best features to create a visually compelling presentation.
6. Stage Each Room for the Target Buyer
Consider who the ideal buyer is and stage accordingly. A family-friendly home might benefit from a cozy reading nook, while a modern condo may look best with sleek, minimalist furnishings.
Pro Tip: Incorporate neutral tones and soft textures to create a universally appealing aesthetic.
Capturing the Best Photos: A Quick Guide
Once staging is complete, it’s time to capture those picture perfect listing photos. Here’s a quick checklist to follow:
Use a high-resolution camera or hire a professional photographer.
Capture each room from multiple angles.
Avoid using a flash, as it can create harsh lighting.
Keep vertical lines (like doorframes) straight to prevent distortion.
Stage each shot to tell a visual story of the home.
Final Thoughts
Investing in professional picture perfect listing photos can transform a home’s online presence and drive more buyer interest. With the right staging techniques, lighting, and strategic angles, you can create irresistible listing photos that stand out in the competitive real estate market.
Ready to Learn More?
Want to master the art of home staging for real estate photography? Explore our Interior Design and Home Staging courses today at The Academy of Home Staging and Design and take your skills to the next level!
For more expert tips and industry insights, join our private Facebook group The Interior Design/Home Staging Business Incubator.